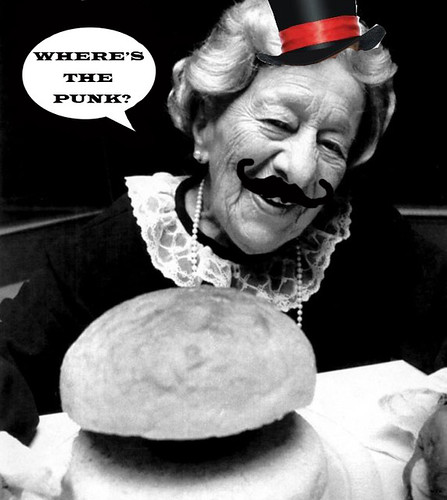
I've had any number of discussions on this point, but instead of trying to describe it myself, I'll point you to a lovely article on Tor that sums up my thoughts on the matter rather well.
But, for amusement factor, I decided I'd do a SteamPUNK outfit for this year's Steamcon.
It all started out when I found two yards of a black and green plaid at Goodwill a few weeks ago. Not enough for a kilt, so what to do, what to do? And then, when I was rooting through the laundry room looking for one of the munchkin's old dresses that she'd outgrown, that might work for a friend of hers for Halloween, I found something I'd forgotten I had, namely a red plaid blazer with black velvet lapels. And an idea was born.
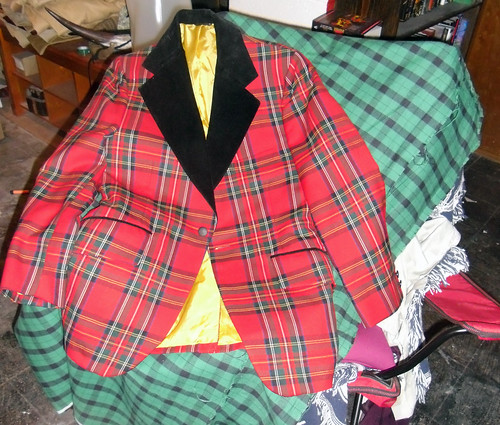
Plaids! How punk is that? Added Bonus! Mixed plaids!!! Mwahahahaha!!!!! (I've seen some photographs of some mixed plaid outfits from the Victorian era. For instance, scroll down on this page and imagine what the skirts in the first picture would have looked like in person!)
I'd done a modding job on an old blazer a few months ago.
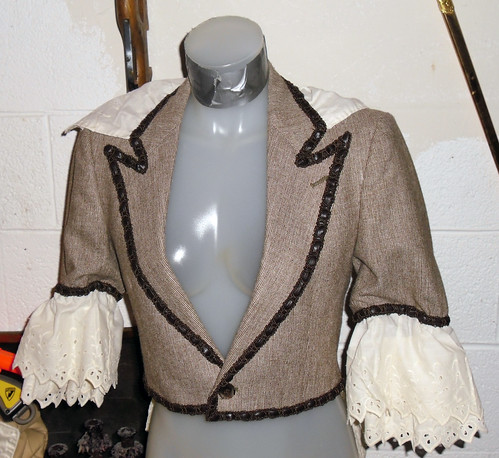
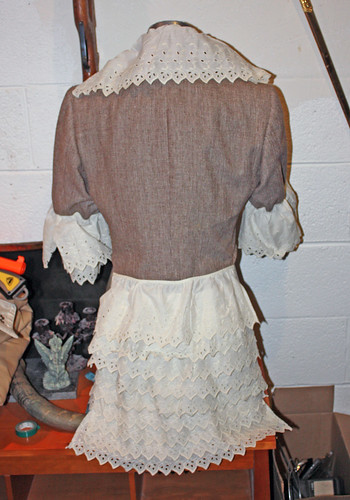
I decided to do something similar to this, and instead of lace I'd make ruffles from the green plaid.
First step, the cutting. It was very easy with a plaid jacket to get everything even. I picked out the side seams on the jacket and the lining, and then cut away the front panels.
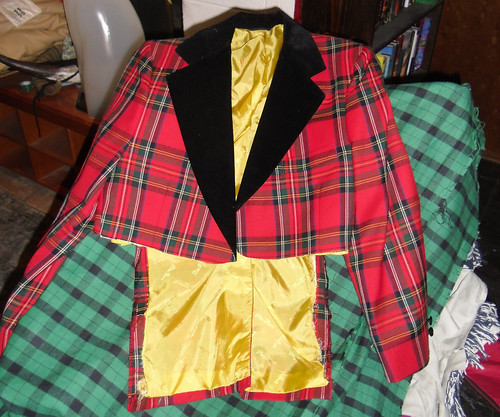
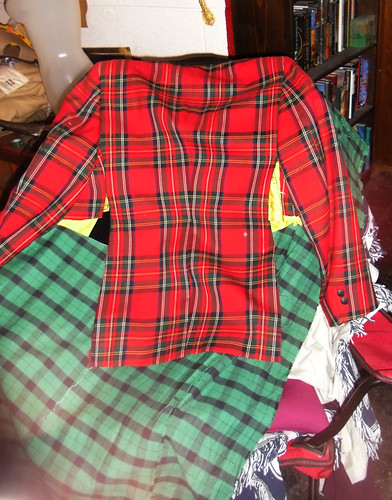
Next trimming the sleeves:
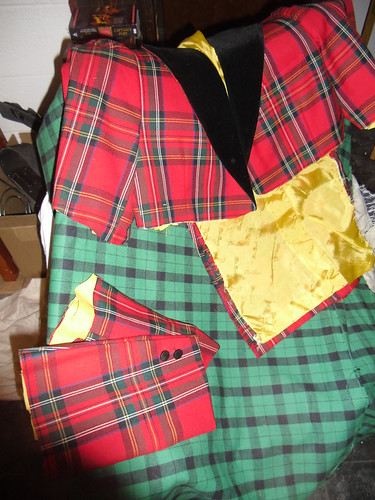
I cut out the pockets from the cutaway panels, because I had nefarious plans for them.
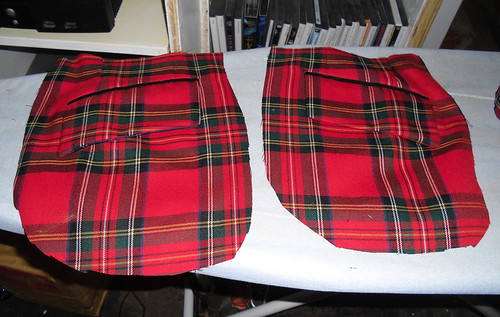
Then, on to the ruffles.
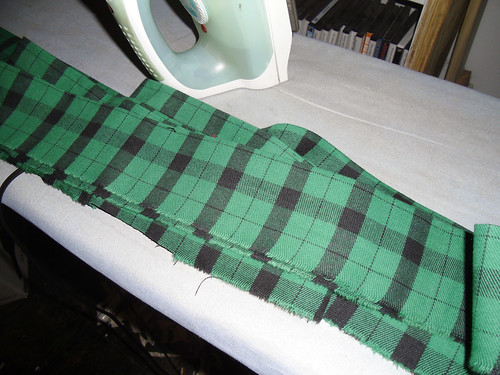
Tear strips of the wool, fold in half, iron, and serge the edges and go. Then, baste with coat and button thread in the bobbin and pull to gather. Didn't get pictures of this, but there's a good tutorial here if you're not familiar with the technique.
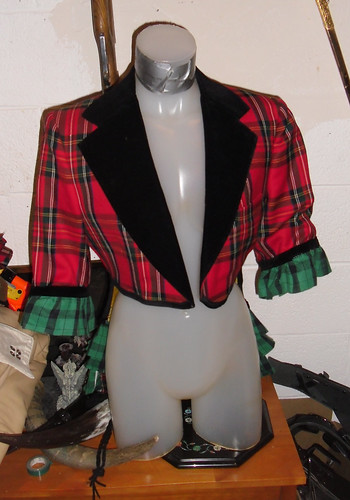
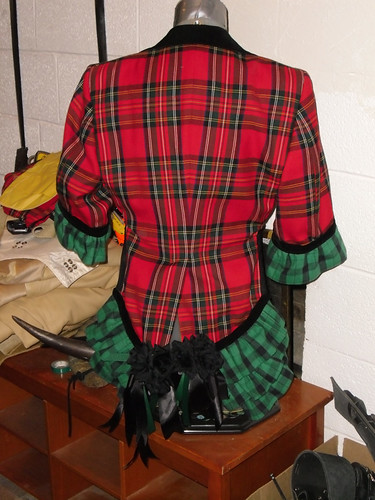
I made diagonal ruffles across the tails, in three rows, and also added ruffle to the shortened sleeves.
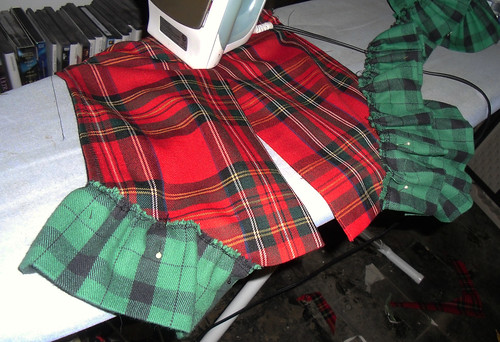
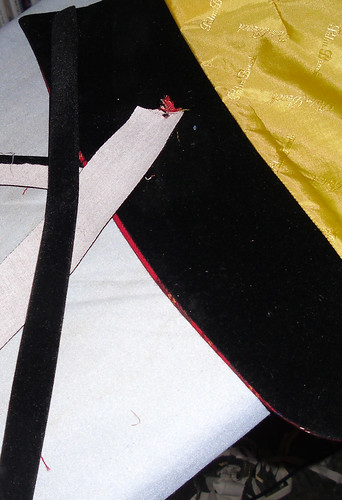
To finish the edge of the top ruffle and the sleeves, I used strips of the black velvet from the jacket, which not only made up the lapel but was on the inside of both front sides of the jacket, and since I didn't have enough to go all the way around made up the difference with black bias tape.
And because I thought it looked a bit bare, I made a couple of clusters of black roses and green and black ribbon to go on the ruffles at the base of the jacket tails. Stage I - jacket complete!
Next up, the skirt. I'd used the birthday money my mother sent me last year to acquire this wonderful vintage crinoline:
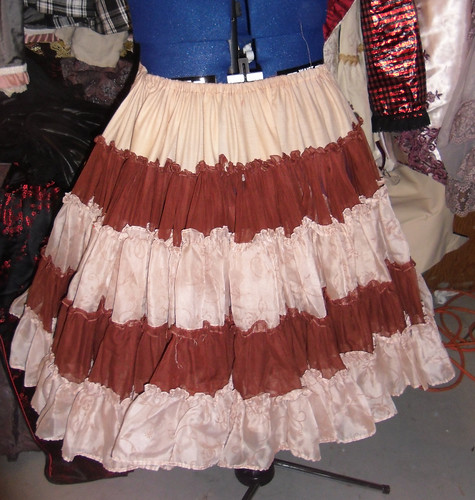
I'd never worn it because the elastic was sprung, but making this outfit finally gave me the impetus to replace it. It should have been an easy thing. You pick out a bit of the seam at the waistline, cut the elastic, hand-sew in the new elastic and use it to pull the new piece through. Hey presto!
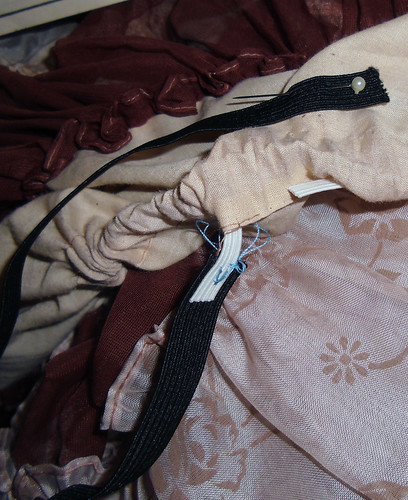
Except sometime in this garment's past someone had tried to fix the failing elastic by picking out a side seam, pulling excess stretched elastic out and sewing the edges into the side seam afterwards. So instead I used a handy gadget I got at the fabric store:
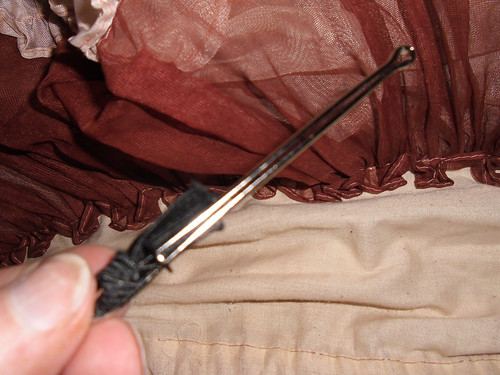
This is basically a clamping pair of tweezers. I used to use safety pins, but the heads would always get stuck at seam joins and the elastic would pull and get all bunched up and stuck in the end of the pin. These are an absolute dream to use.
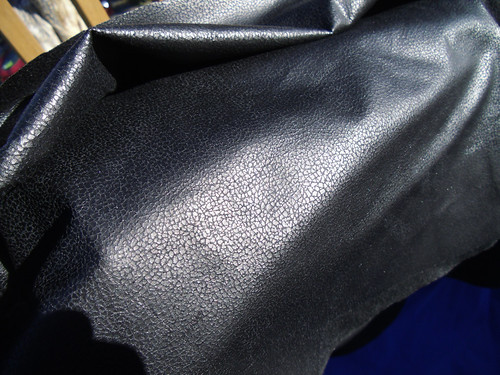
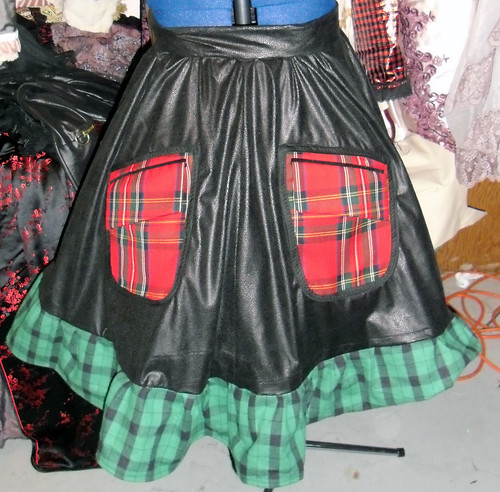
So, the crinoline was re-elasticized and I moved on to the skirt. I used a pleather with a bit of a faux scale finish.
And remember I said I had plans for those pockets?
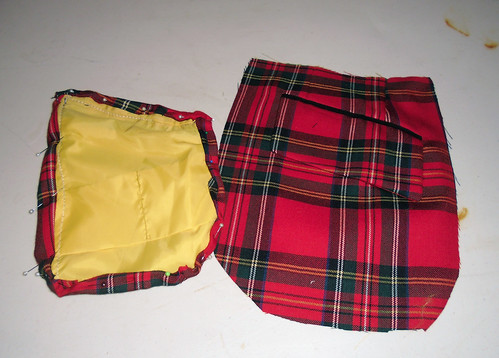
First I rolled the edges and tacked them down. Then I used bias tape to finish the edges:
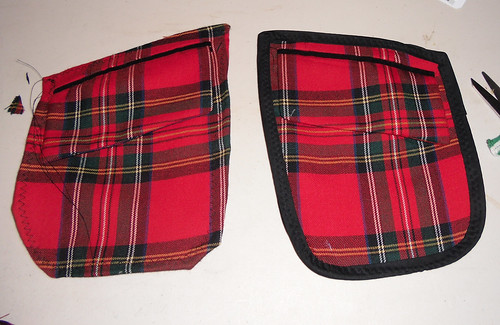
Then I positioned them on the skirt. (Oh, did I forget to mention adding a plaid ruffle there too?
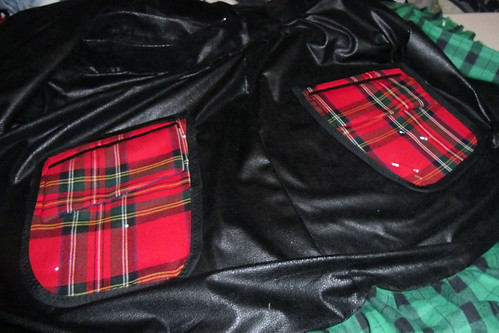
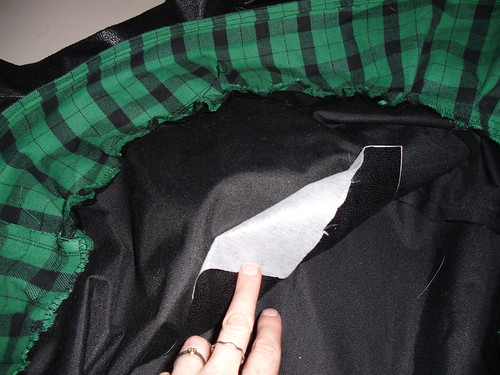
To make things a bit sturdier, I added an extra layer of interfaced fabric under the pockets before sewing them on.
And here's the skirt:
Next, of course? A hat!
I found a cheap black satin mini top hat at the thrift store last week. Perfect! A band made of the green plaid and a rose and rosebud made of strips from one of the sleeves I cut off.
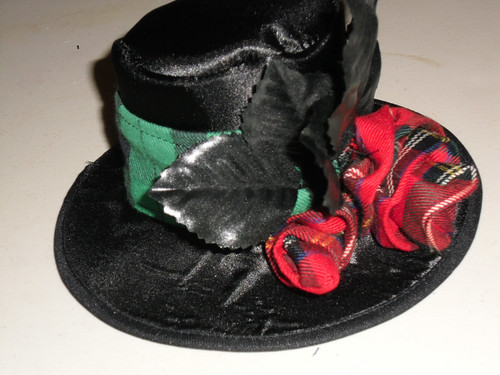
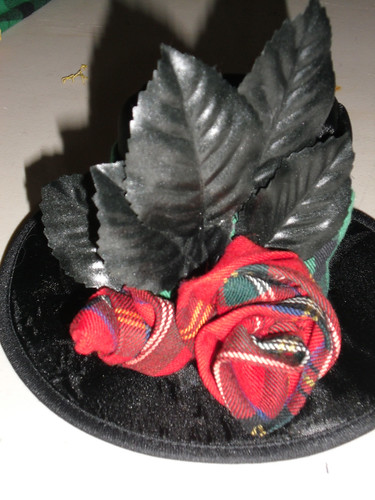
So here's the three pieces together:
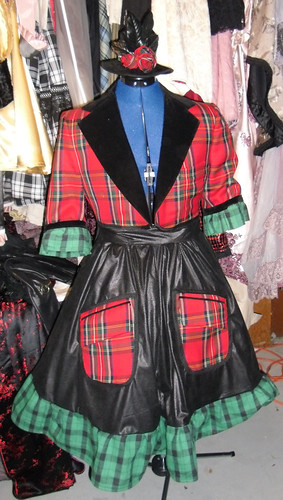
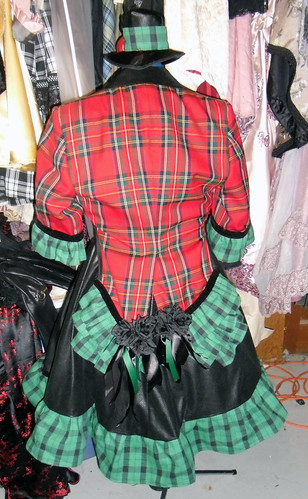
And after taking it for a stroll around the front yard this morning:
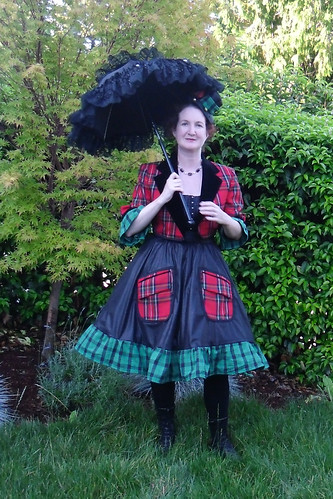
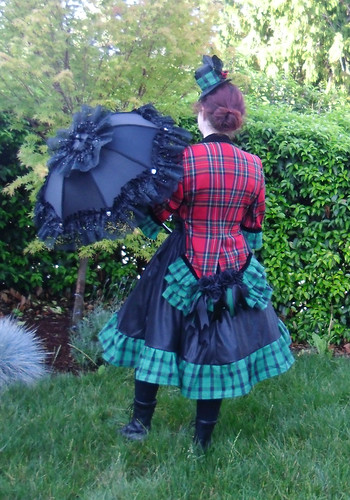
I still need a fastener for the jacket. I'll probably go with a fancy hook and eye, but if I find a big old rusty safety pin in the next few weeks I might use that instead. I'll probably wear my knee-high lace-up boots instead of the army boots I've got in these shots, but I'd say this outfit's complete. So, is it punk enough for you?
~


5 comments:
That's amazing! Thanks so much for sharing :) I love how you mixed the different fabrics, I don't think I'd be brave enough for that. Great job, Hope you find a suitable fastener!
I've decided to use a kilt pin for a closure.
None of the images for the Victorians are mixed use of plaid. They DID however like to use the plaid on the bias loads!
love! What fun - thanks for sharing
I LOVE THIS!!! I did a post recently at an old blog about how little PUNK there is in SteamPunk, in jewelry. I might just repost it at my new blot.
Post a Comment