They were a huge hit at the orthopedic's office the next day, as well as her daycare, and several people have suggested that I should make them to sell. However, I can't afford the hundreds of dollars necessary to do the testing required by the absolutely ridiculous piece of legislature called the CPSIA. (for a better idea of what this means to a small businessperson such as myself, you can read my previous article on the subject)
So instead, here's step by step instructions on how to make your own. I'm posting this under a Creative Commons license - you're free to make these for your own personal use and distribute the instructions with credit (attribution), but please don't make them commercially.
Here's the original sling, which I used as the basic pattern:
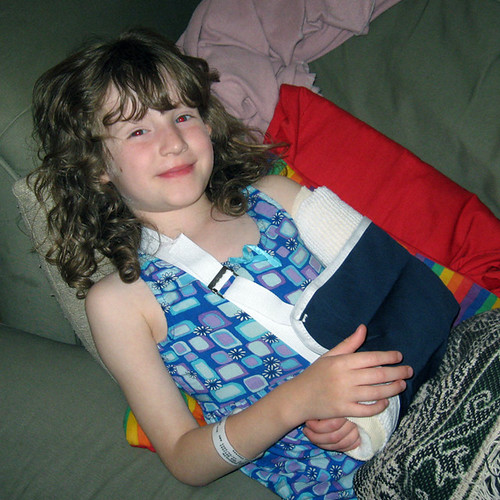
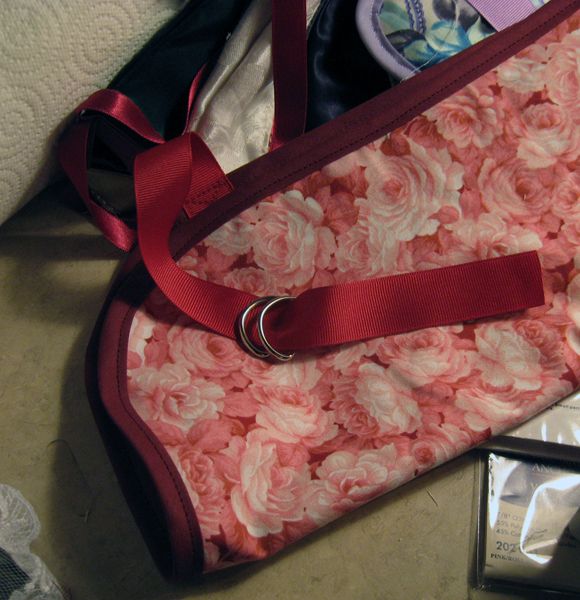
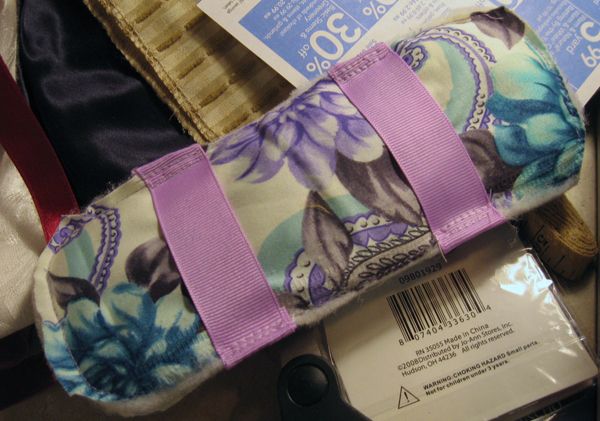
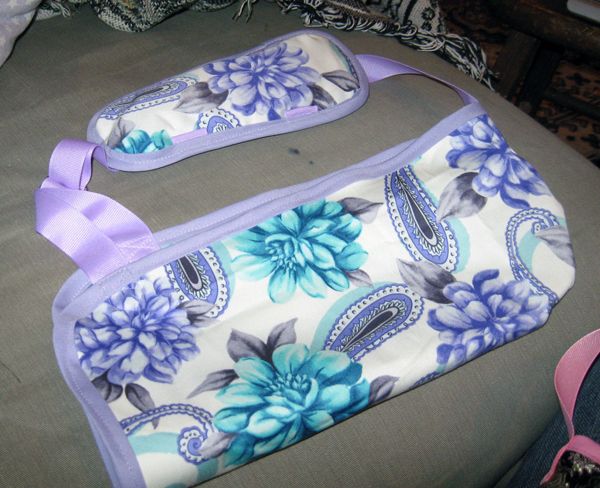
And here's one of my new improved versions:

Materials needed
- 1/3 yard (12") of fabric, preferably cotton or some other sturdy fabric. Avoid stretchy blends.

- a spool of 1" grosgrain ribbon
- 1 package wide single fold bias tape
- 1 piece of batting, approximately 8" x 8"
- 2 1" D-rings

All of these should be easily obtainable at any fabric store.
I made these all double layer for strength, and also so they'd be just as pretty on the inside as the out. Fold the fabric in half, then double it over again. Lay the ugly hospital sling on top and use as the pattern, aligning the open end where the hand sticks out with the folded edges.

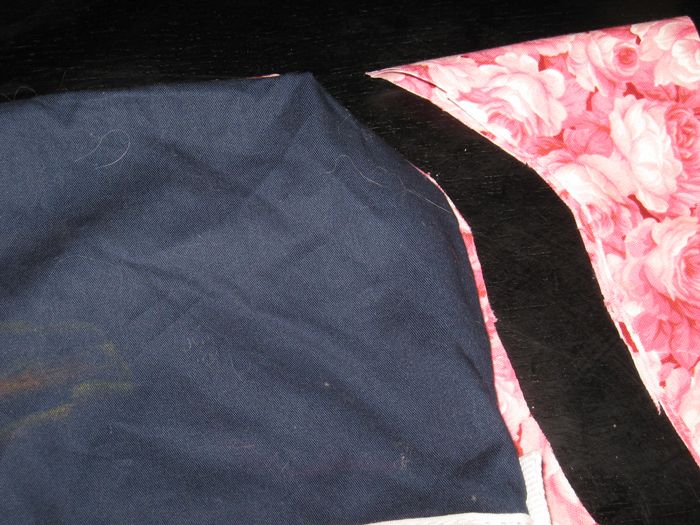
You'll end up with something like this:
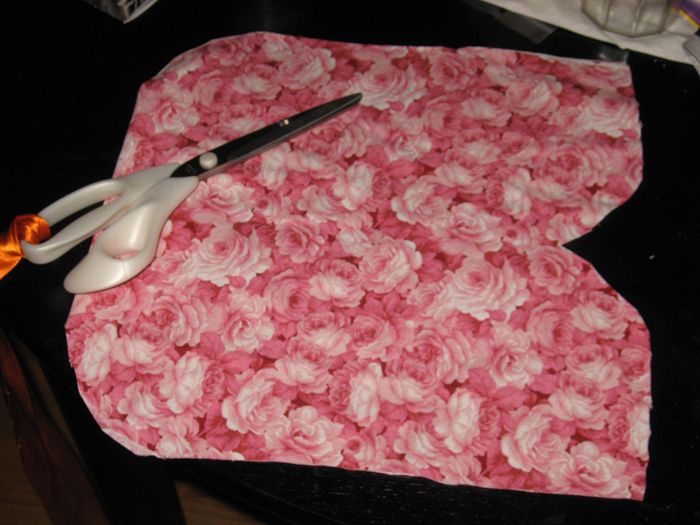

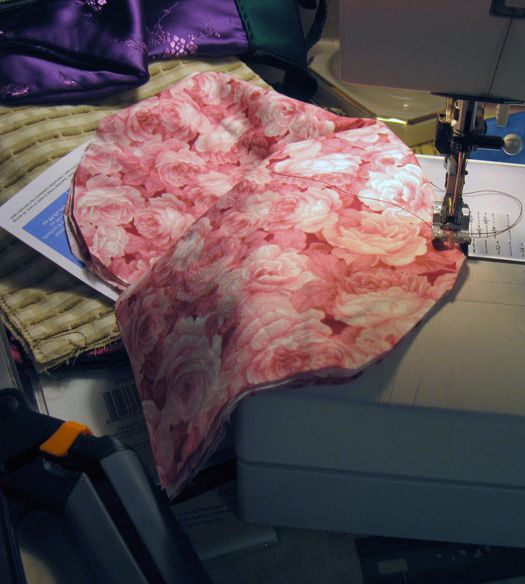
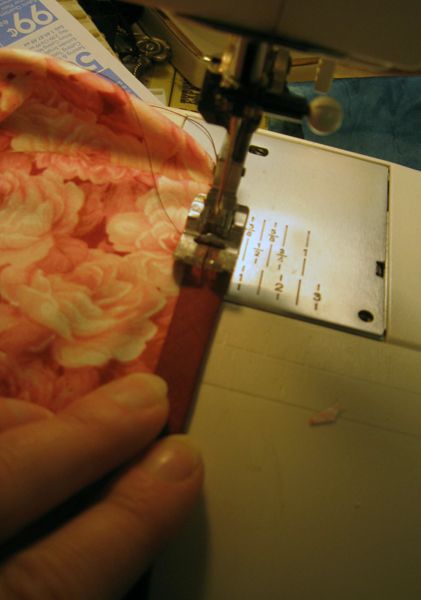
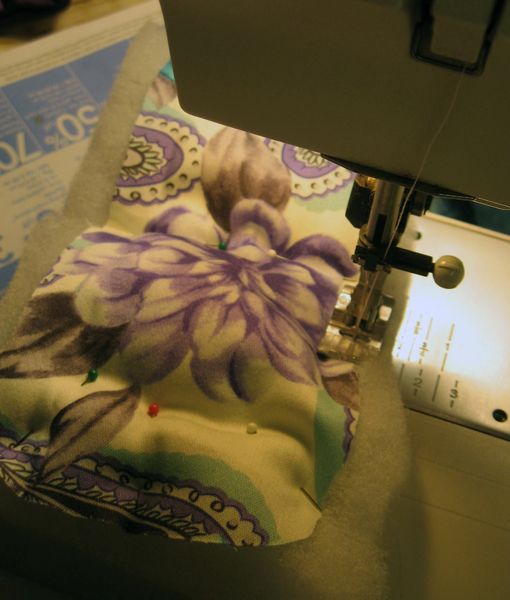
Lay the fabric out flat, and baste the two layers together, then fold the fabric back into sling shape and start sewing at the curved end, first with a straight stitch, then finish with a locking stitch or on a serger, to prevent raveling.

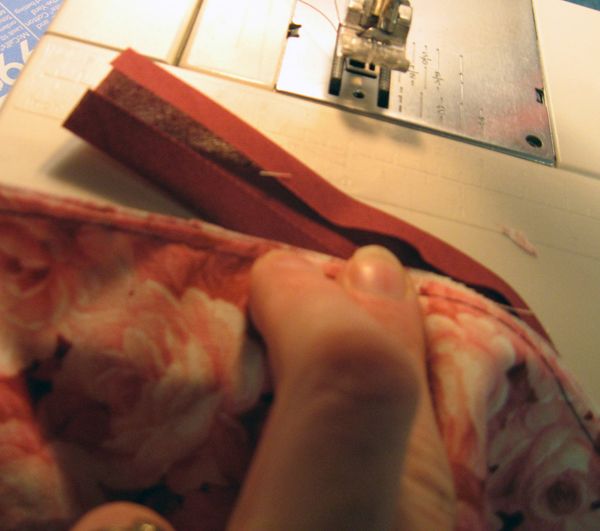
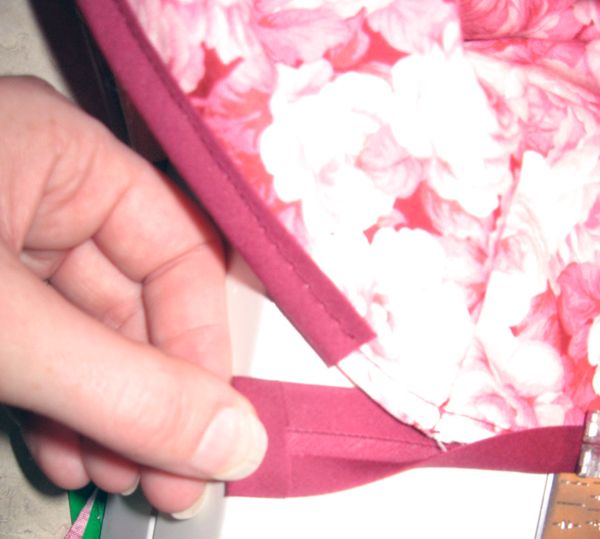
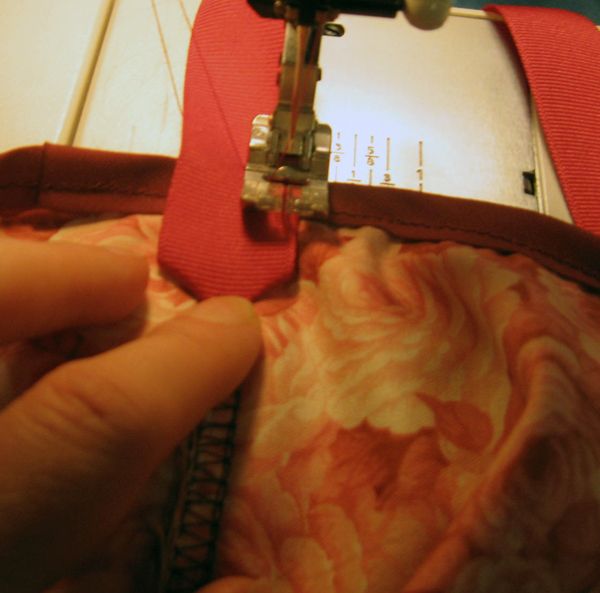
Use the bias tape as binding, to finish the edges of the sling. Fold it at the middle and wrap around the raw edge, and sew in place.
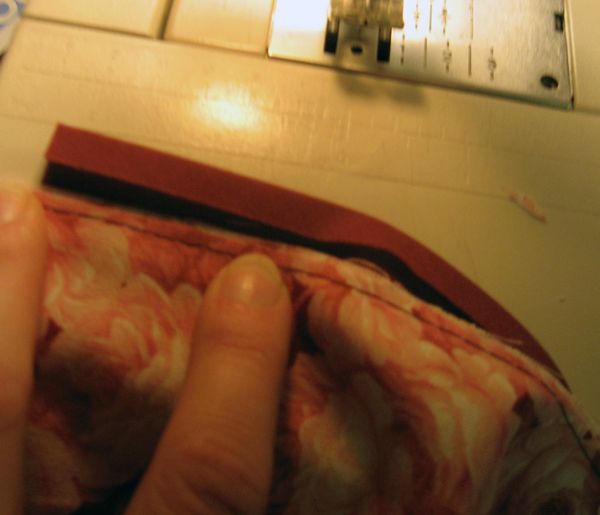
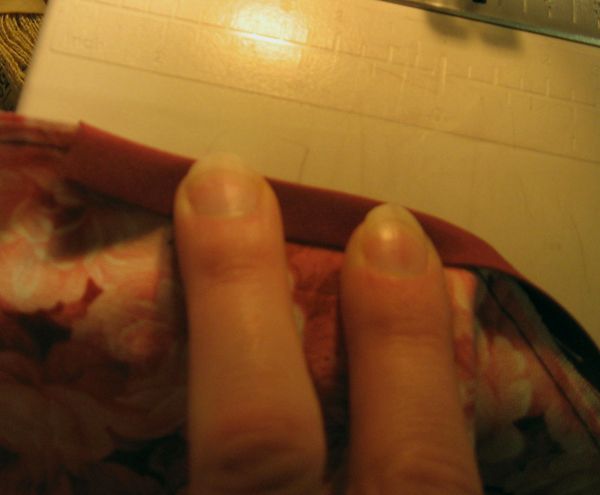
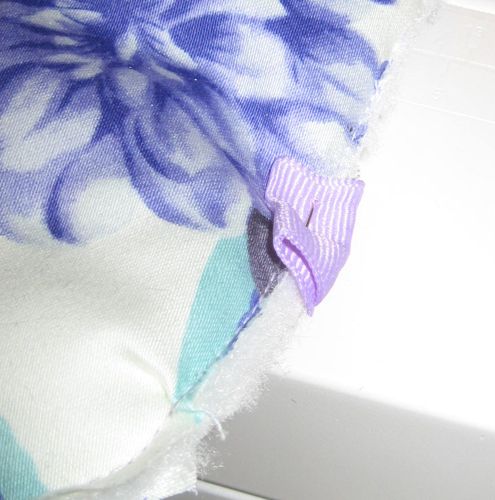
For finishing, cut the bias tape to overlap your start point by approximately 1". Fold under the edge, and sew down the folded end.
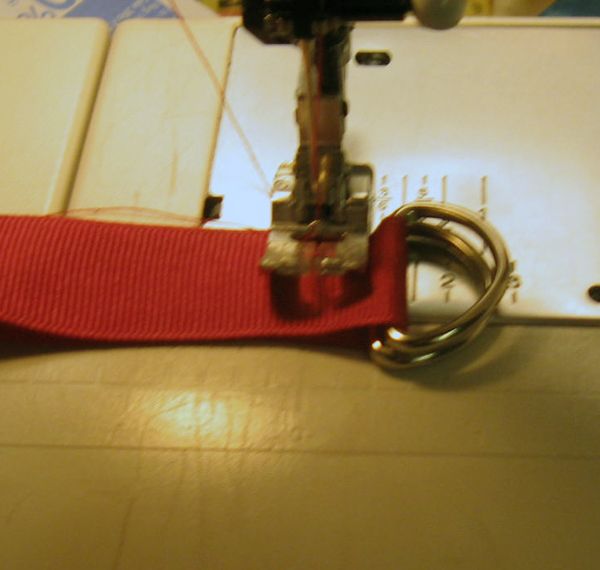
Now to attach the straps. You'll do a shorter length at the open end to which you'll attach the two D-rings, and a long strap at the closed end which will be the shoulder strap. Use the hospital sling again to give you the lengths of the ribbons you should be using. Make sure to fold the edges of the ribbon over again to prevent raveling.
Sew the first end down, then string on the D-rings, and sew down the other end. Once attached, center the two D-rings and sew them in place.
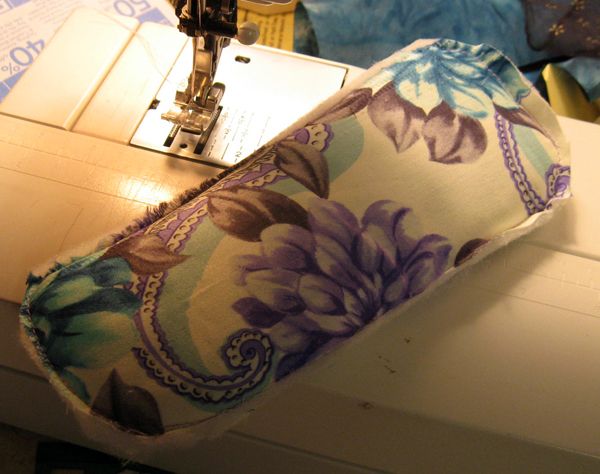
Open end:
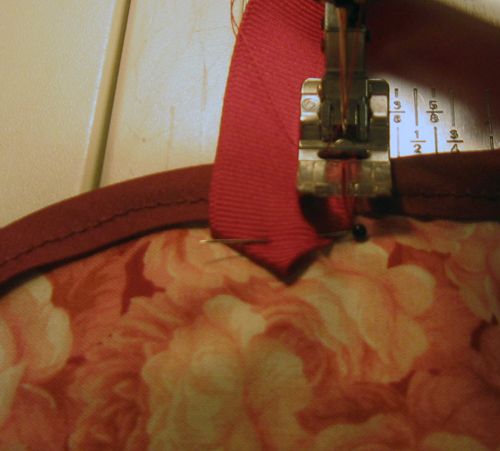
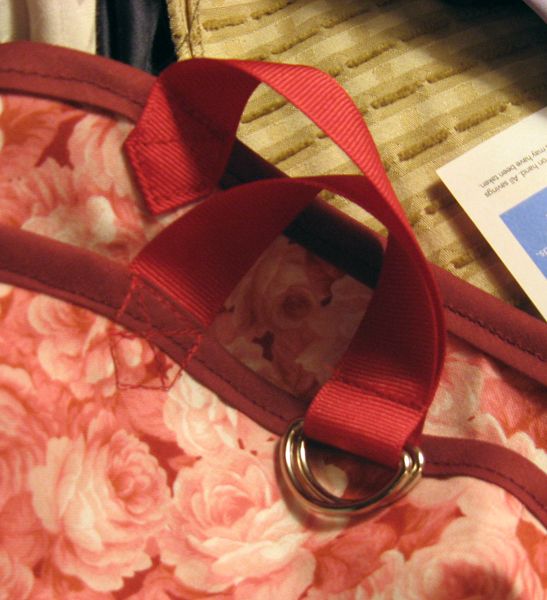
Sling back:
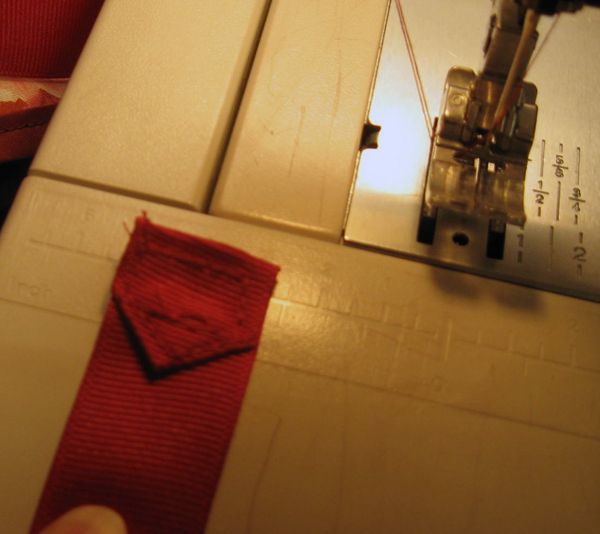
Make sure to double stitch the ribbon ends, as these are stress points.
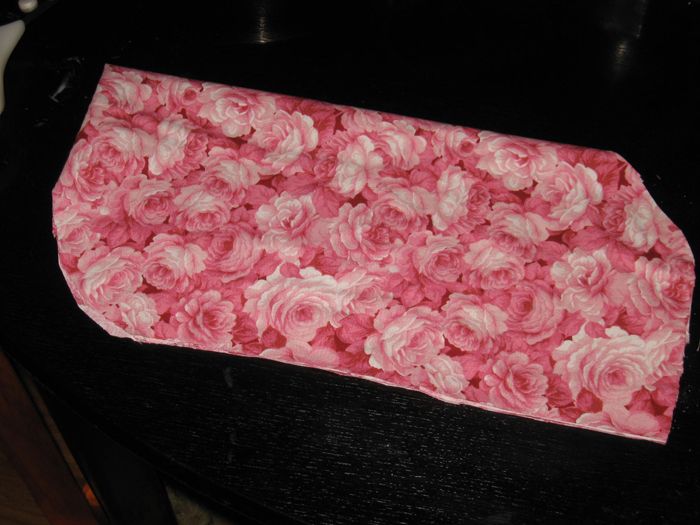
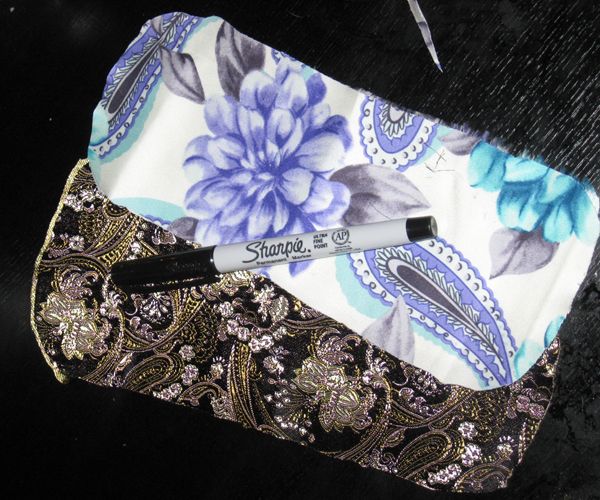
Now for the shoulder pad. Cut out two pieces of fabric, 3.5" by 8", with rounded edges:
Cut your piece of batting in half, and sandwich the two pieces of batting in between the two pieces of fabric.
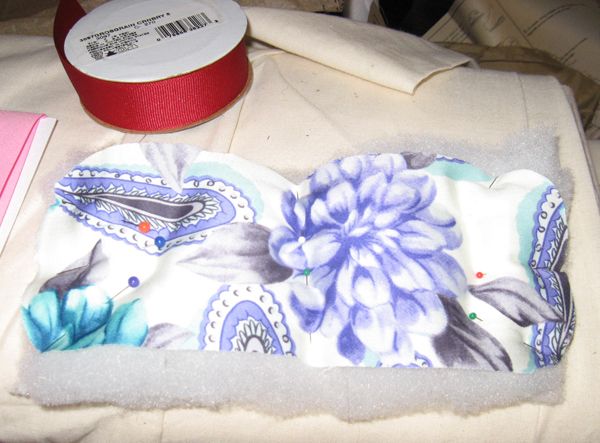
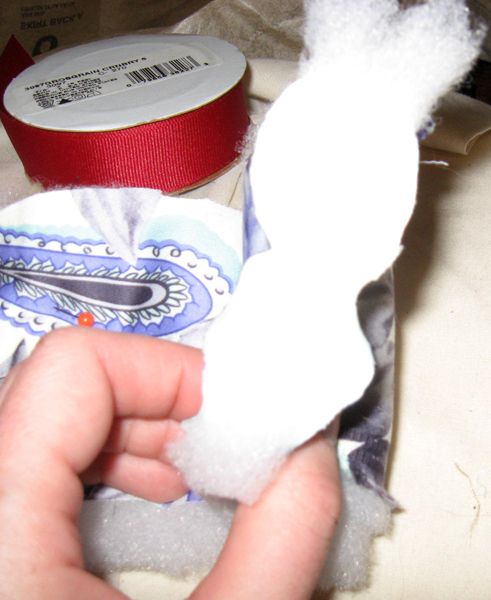
Baste the fabric of the edges down, and trim the excess batting away.

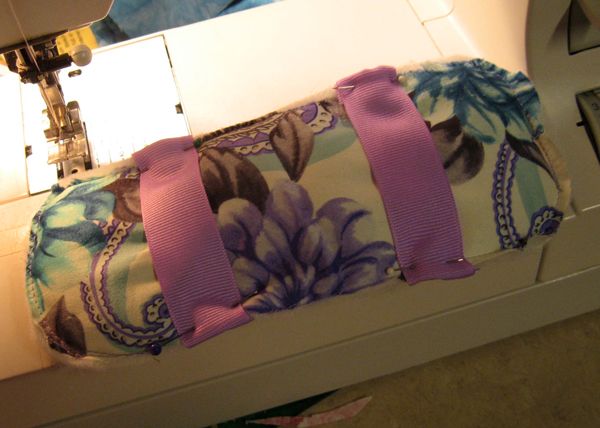
Cut two pieces of ribbon, 5.5", and pin them across the pad, folding the edges under - sew in place. I did double seams, back stitching, as this is another point where tearing could occur.
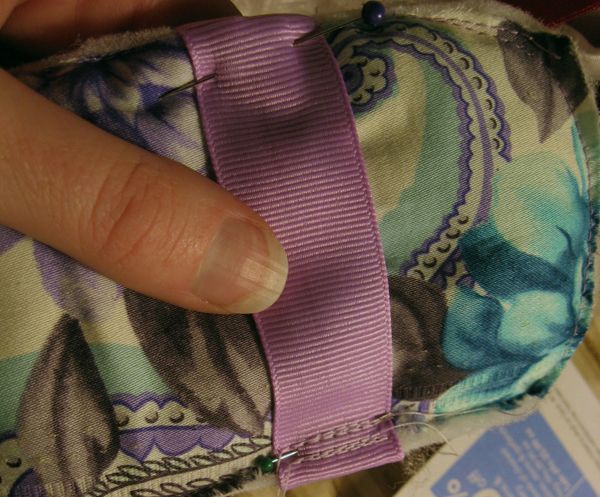
Bind the edges of the pad the same way you did the sling, and slide the pad in place on the shoulder strap. I ended up using safety pins to keep it in place. I thought about sewing them permanently in place, but decided to leave them loose so they could be adjusted depending on what my daughter wears from day to day, as more layers change what length we set the the strap.
Altogether, to make three slings took me about 2 hours, including taking the pictures. So it's a pretty quick process, even though it doesn't look like it with how long this tutorial turned out to be. Ready ... set ... sew!
-Victoria


2 comments:
That is a really lovely sling!!! Great instructions! I hope her arm mends well :)
Awesome Tutorial!
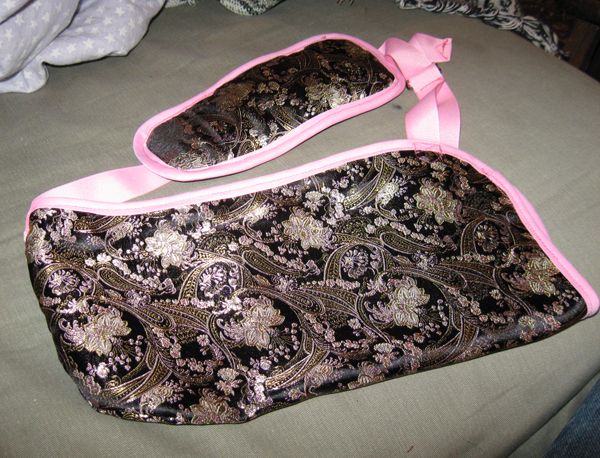
My fave is the black and pink sling!
Great Job!
Post a Comment